12 KiB
How to Contribute
We would love to accept your patches and contributions to this project.
Before you begin
Sign our Contributor License Agreement
Contributions to this project must be accompanied by a Contributor License Agreement (CLA). You (or your employer) retain the copyright to your contribution; this simply gives us permission to use and redistribute your contributions as part of the project.
If you or your current employer have already signed the Google CLA (even if it was for a different project), you probably don't need to do it again.
Visit https://cla.developers.google.com/ to see your current agreements or to sign a new one.
Review our Community Guidelines
This project follows Google's Open Source Community Guidelines.
Contribution Process
Code Reviews
All submissions, including submissions by project members, require review. We use GitHub pull requests for this purpose.
Pull Request Guidelines
To help us review and merge your PRs quickly, please follow these guidelines. PRs that do not meet these standards may be closed.
1. Link to an Existing Issue
All PRs should be linked to an existing issue in our tracker. This ensures that every change has been discussed and is aligned with the project's goals before any code is written.
- For bug fixes: The PR should be linked to the bug report issue.
- For features: The PR should be linked to the feature request or proposal issue that has been approved by a maintainer.
If an issue for your change doesn't exist, please open one first and wait for feedback before you start coding.
2. Keep It Small and Focused
We favor small, atomic PRs that address a single issue or add a single, self-contained feature.
- Do: Create a PR that fixes one specific bug or adds one specific feature.
- Don't: Bundle multiple unrelated changes (e.g., a bug fix, a new feature, and a refactor) into a single PR.
Large changes should be broken down into a series of smaller, logical PRs that can be reviewed and merged independently.
3. Use Draft PRs for Work in Progress
If you'd like to get early feedback on your work, please use GitHub's Draft Pull Request feature. This signals to the maintainers that the PR is not yet ready for a formal review but is open for discussion and initial feedback.
4. Ensure All Checks Pass
Before submitting your PR (and before marking a draft as "Ready for Review"), please ensure that all automated checks are passing. This includes:
- Tests: All existing tests must pass, and new code should be accompanied by new tests. Run
npm run test. - Linting and Style: Your code must adhere to our project's style guidelines. Run
npm run preflightto check everything.
5. Update Documentation
If your PR introduces a user-facing change (e.g., a new command, a modified flag, or a change in behavior), you must also update the relevant documentation in the /docs directory.
6. Write Clear Commit Messages and a Good PR Description
Your PR should have a clear, descriptive title and a detailed description of the changes. Follow the Conventional Commits standard for your commit messages.
- Good PR Title:
feat(cli): Add --json flag to 'config get' command - Bad PR Title:
Made some changes
In the PR description, explain the "why" behind your changes and link to the relevant issue (e.g., Fixes #123).
Development Setup and Workflow
This section guides contributors on how to build, modify, and understand the development setup of this project.
Setting Up the Development Environment
Prerequisites:
- Install Node 18+
- Git
Build Process
To clone the repository:
git clone https://github.com/google-gemini/gemini-cli.git # Or your fork's URL
cd gemini-cli
To install dependencies defined in package.json as well as root dependencies:
npm install
To build the entire project (all packages):
npm run build
This command typically compiles TypeScript to JavaScript, bundles assets, and prepares the packages for execution. Refer to scripts/build.sh and package.json scripts for more details on what happens during the build.
Enabling Sandboxing
Container-based sandboxing is highly recommended and requires, at a minimum, setting GEMINI_SANDBOX=true in your ~/.env and ensuring a container engine (e.g. docker or podman) is available. See Sandboxing for details.
To build both the gemini CLI utility and the sandbox container, run build:all from the root directory:
npm run build:all
To skip building the sandbox container, you can use npm run build instead.
Running
To start the Gemini CLI from the source code (after building), run the following command from the root directory:
npm start
If you’d like to run the source build outside of the gemini-cli folder you can utilize npm link path/to/gemini-cli/packages/cli (see: docs) or alias gemini="node path/to/gemini-cli/packages/cli" to run with gemini
Running Tests
To execute the test suite for the project:
npm run test
This will run tests located in the packages/core and packages/cli directories. Ensure tests pass before submitting any changes.
Important Note for Sandbox Users on macOS/Windows
This project uses native dependencies (e.g., tree-sitter) that are compiled for a specific operating system.
When you run the application in the development sandbox via npm start, these dependencies are automatically rebuilt for the container's Linux environment.
Because of this, if you then try to run npm run test directly on your host machine (e.g., macOS), the tests will fail with an error similar to dlopen or not a valid mach-o file. This is because the test runner on your Mac cannot load the Linux-compiled dependencies from your node_modules folder.
The Solution:
To fix this, you must rebuild the native dependencies for your host machine's architecture before running the tests.
npm rebuild
Recommended Workflow:
- After using the sandboxed
npm start, and before you want to run tests locally, runnpm rebuildin your terminal. - Then, run
npm run testas usual.
You will need to repeat the npm rebuild step any time you switch from running the sandboxed application back to running local tests.
Linting and Preflight Checks
To ensure code quality, formatting consistency, and run final checks before committing:
npm run preflight
This command usually runs ESLint, Prettier, and potentially other checks as defined in the project's package.json.
Formatting
To separately format the code in this project by running the following command from the root directory:
npm run format
This command uses Prettier to format the code according to the project's style guidelines.
Linting
To separately lint the code in this project, run the following command fro the root directory:
npm run lint
Coding Conventions
- Please adhere to the coding style, patterns, and conventions used throughout the existing codebase.
- Consult GEMINI.md (typically found in the project root) for specific instructions related to AI-assisted development, including conventions for React, comments, and Git usage.
- Imports: Pay special attention to import paths. The project uses
eslint-rules/no-relative-cross-package-imports.jsto enforce restrictions on relative imports between packages.
Project Structure
packages/: Contains the individual sub-packages of the project.cli/: The command-line interface.server/: The backend server that the CLI interacts with.
docs/: Contains all project documentation.scripts/: Utility scripts for building, testing, and development tasks.
For more detailed architecture, see docs/architecture.md.
Debugging
VS Code:
- Start the CLI in debug mode from the root directory:
This command runsnpm run debugnode --inspect-brk dist/gemini.jswithin thepackages/clidirectory, pausing execution until a debugger attaches. You can then openchrome://inspectin your Chrome browser to connect to the debugger. - In VS Code, use the "Attach" launch configuration (found in
.vscode/launch.json).
Alternatively, you can use the "Launch Program" configuration in VS Code if you prefer to launch the currently open file directly, but the "Attach" method is generally recommended for debugging the main CLI entry point.
To hit a breakpoint inside the sandbox container run:
DEBUG=1 gemini
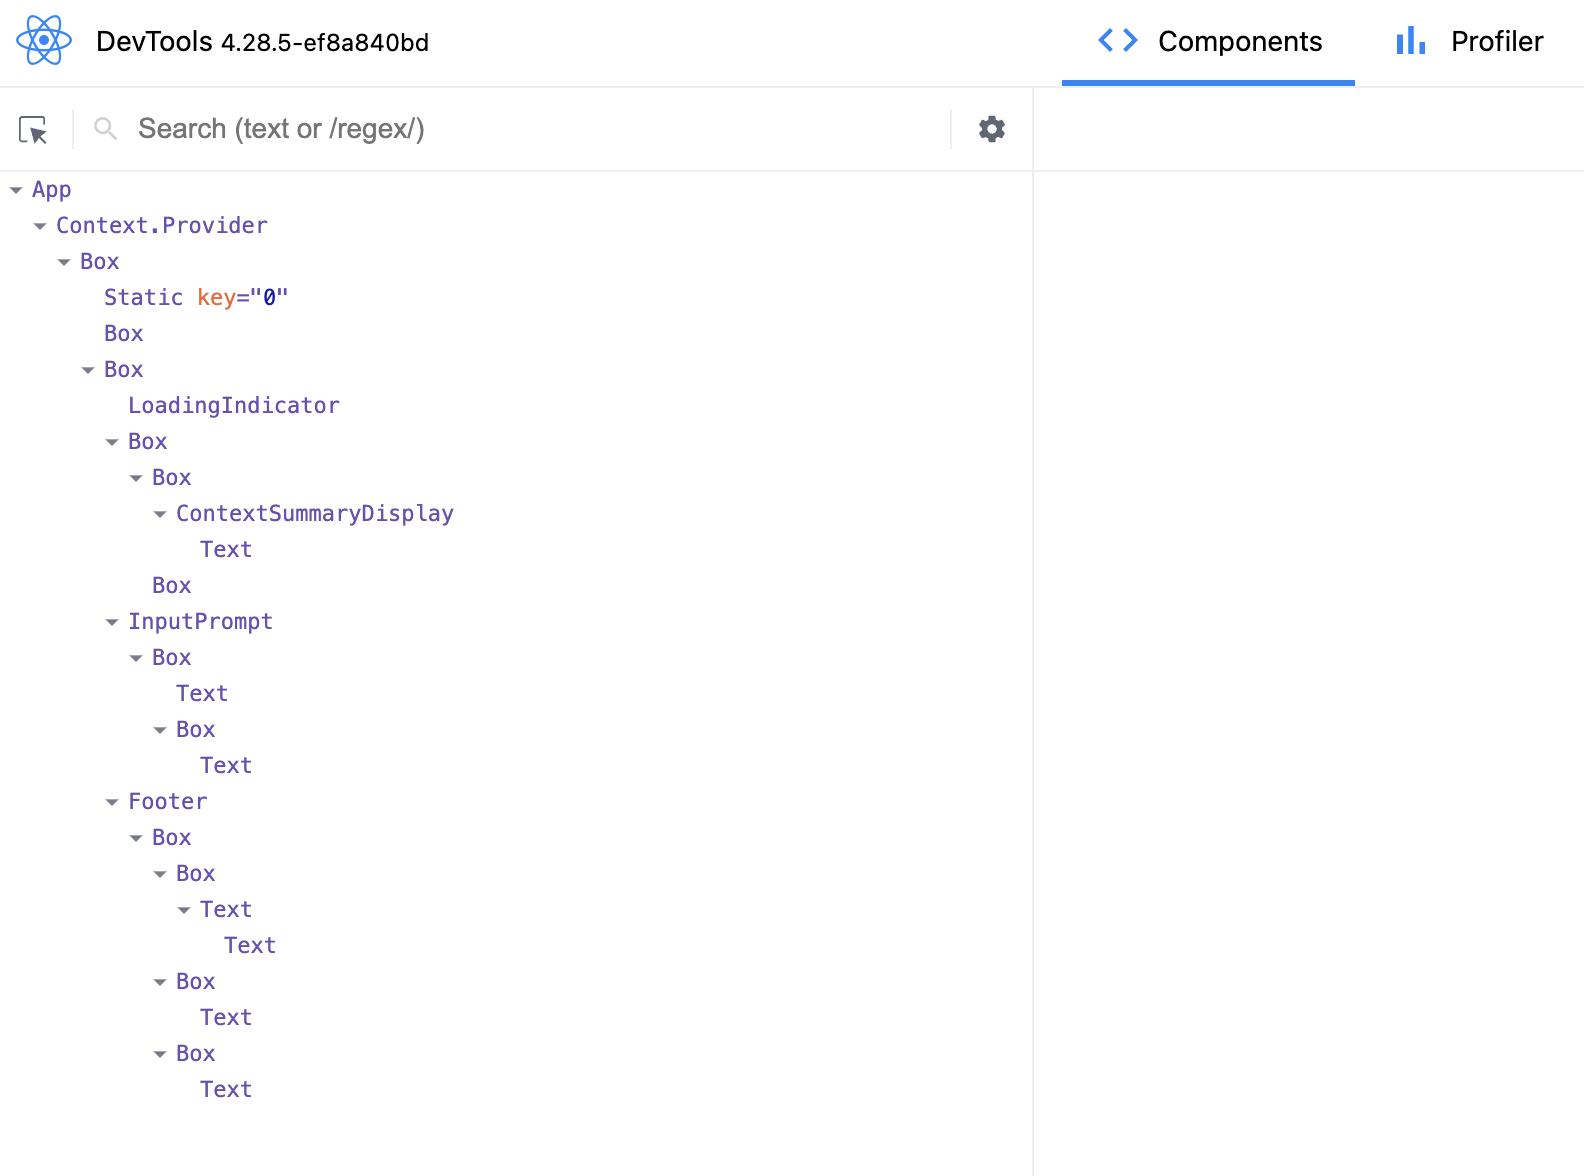
React DevTools
To debug the CLI's React-based UI, you can use React DevTools. Ink, the library used for the CLI's interface, is compatible with React DevTools version 4.x.
-
Start the Gemini CLI in development mode:
DEV=true npm start -
Install and run React DevTools version 4.28.5 (or the latest compatible 4.x version):
You can either install it globally:
npm install -g react-devtools@4.28.5
react-devtools
Or run it directly using npx:
npx react-devtools@4.28.5Your running CLI application should then connect to React DevTools.
Sandboxing
MacOS Seatbelt
On MacOS, gemini uses Seatbelt (sandbox-exec) under a permissive-open profile (see packages/cli/src/utils/sandbox-macos-permissive-open.sb) that restricts writes to the project folder but otherwise allows all other operations and outbound network traffic ("open") by default. You can switch to a restrictive-closed profile (see .../sandbox-macos-strict.sb) that declines all operations and outbound network traffic ("closed") by default by setting SEATBELT_PROFILE=restrictive-closed in your environment or .env file. Available built-in profiles are {permissive,restrictive}-{open,closed,proxied} (see below for proxied networking). You can also switch to a custom profile SEATBELT_PROFILE=<profile> if you also create a file .gemini/sandbox-macos-<profile>.sb under your project settings directory .gemini.
Container-based Sandboxing (All Platforms)
For stronger container-based sandboxing on MacOS or other platforms, you can set GEMINI_SANDBOX=true|docker|podman|<command> in your environment or .env file. The specified command (or if true then either docker or podman) must be installed on the host machine. Once enabled, npm run build:all will build a minimal container ("sandbox") image and npm start will launch inside a fresh instance of that container. The first build can take 20-30s (mostly due to downloading of the base image) but after that both build and start overhead should be minimal. Default builds (npm run build) will not rebuild the sandbox.
Container-based sandboxing mounts the project directory (and system temp directory) with read-write access and is started/stopped/removed automatically as you start/stop Gemini CLI. Files created within the sandbox should be automatically mapped to your user/group on host machine. You can easily specify additional mounts, ports, or environment variables by setting SANDBOX_{MOUNTS,PORTS,ENV} as needed. You can also fully customize the sandbox for your projects by creating the files .gemini/sandbox.Dockerfile and/or .gemini/sandbox.bashrc under your project settings directory (.gemini) and running gemini with BUILD_SANDBOX=1 to trigger building of your custom sandbox.
Proxied Networking
All sandboxing methods, including MacOS Seatbelt using *-proxied profiles, support restricting outbound network traffic through a custom proxy server that can be specified as GEMINI_SANDBOX_PROXY_COMMAND=<command>, where <command> must start a proxy server that listens on :::8877 for relevant requests. See scripts/example-proxy.js for a minimal proxy that only allows HTTPS connections to example.com:443 (e.g. curl https://example.com) and declines all other requests. The proxy is started and stopped automatically alongside the sandbox.
Manual Publish
We publish an artifact for each commit to our internal registry. But if you need to manually cut a local build, then run the following commands:
npm run clean
npm install
npm run auth
npm run prerelease:dev
npm publish --workspaces